The countdown to Christmas is on: there’s more snow on the way and the commercials are telling us that we need all kinds of décor and goodies to have the perfect holiday. Something that I’ve always wanted to make but never have is a gingerbread house from scratch. I think that the challenge of doing this is patience and planning. I love the idea of the children and me gathered around the table, spending a weekend day mixing, cutting, baking and decorating. This might be a bit of a dream, but this year I’m going to make it happen.
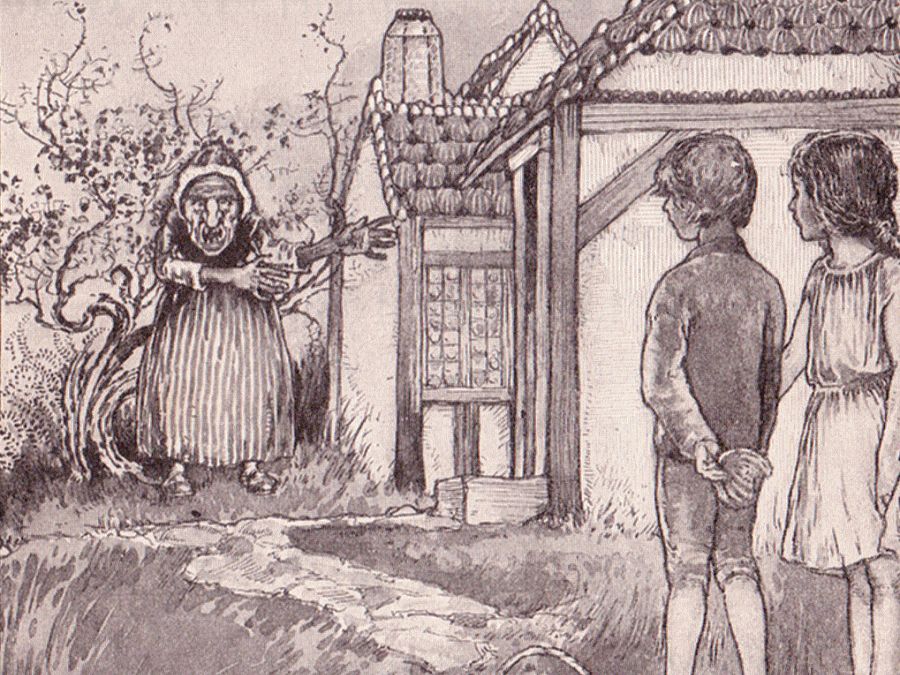
The gingerbread house that we recognize became popular after the Brothers Grimm recorded and published the German fairy tale “Hansel and Gretel” in 1812. This well-known tale also resulted in German settlers bringing gingerbread to America, where it continues to be popular today. In parts of Europe in the 17th century, only professional gingerbread makers were allowed to bake gingerbread year-round, and only they would have the proper moulds for the ginger-flavoured confection. That restriction was lifted during Christmas and Easter, which may explain gingerbread’s connection with Christmas.
It wasn’t until gingerbread found its way to Britain that it started being decorated. It was displayed in shop windows and became the popular holiday treat we now know today.
I’ve provided a recipe below for you to make your own gingerbread house this Christmas. If building your own from scratch is too overwhelming, you and your children can join me at the PC Cooking School for any of our fabulous “Gingerbread House Decorating for Kids of All Ages” workshops. At these workshops, we provide the pre-assembled house, royal icing, and all the candies, and you do the decorating. When your masterpiece is complete, we’ll wrap it in cellophane ready for you to take home to display. Children under five years of age must be accompanied by a parent or caregiver, and there’s a maximum of two people allowed per gingerbread house.
The gingerbread house decorating workshops run on December 4, 6, 8, 11, 13, 19, 20, 22 and 23. The PC Cooking School is located upstairs at the Real Canadian Superstore at Lansdowne Place (645 Lansdowne St. W., Peterborough). You can register online at www.pccookingschool.ca, or you can email me at pccookingschool.peterborough@loblaw.ca or call me at 705-749-6962 ext. 4.
Happy baking and Merry Christmas!
Gingerbread House
Ingredients
- 6 cups (1350 mL) all-purpose flour
- 1/2 teaspoon (2 mL) baking powder
- 4 teaspoons (20 mL) ground ginger
- 4 teaspoons (20 mL) ground cinnamon
- 1/2 teaspoon (2 mL) ground cloves or allspice
- 1/2 teaspoon (2 mL) salt
- 1-1/2 sticks or 12 tbsp (180 mL) butter, softened (you can also use vegetable shortening)
- 1-1/2 cups (345 mL) packed light brown sugar
- 2 large eggs
- 1 cup (225 mL) dark molasses
- 1 tbsp (15 mL) water
Method
Preparing the Dough
- Whisk together the dry ingredients in a large bowl; set aside.
- Using an electric mixer, beat the butter and brown sugar on medium speed until fluffy and well blended. Beat in the eggs, molasses and water until well combined.
- Beat half of the flour mixture into the molasses mixture until well blended and smooth. Stir in the remaining flour. Knead (or use your mixer’s dough hook) until well blended. If dough is too soft, add a little more flour.
- Wrap the dough in plastic wrap and refrigerate at least two hours, preferably overnight. You can make it up to three days ahead of time. Let sit at room temperature for at least 10 minutes before rolling it out.
Making the Gingerbread House Pieces
- To build the gingerbread house, you can create your own free-hand shapes or purchase moulds. I intend to have my girls create a shape using cardboard and wrap it in parchment paper to build the walls and the roof.
- With the oven rack in the middle, preheat oven to 350°F (175°C). Have several flat cookie sheets ready, preferably ones that you know will not warp in the heat of the oven.
- Divide the dough in two. Spread parchment or wax paper on a large flat surface for rolling and dust the paper lightly with flour. Working with one portion of the dough at a time, use a rolling pin to roll out the dough to an even thickness of 1/4 inch (6 mm). Add a little flour to the surface of the dough, and check for sticking as you roll it out. If it sticks to either your rolling pin or to the rolling surface, dust with more flour. If the rolled-out dough is very soft, you may want to freeze it for an hour before cutting out the patterns.
- Place as many pattern pieces as will fit on the dough. Use a small sharp knife to cut out the pattern pieces from the dough, wiping the knife surface clean frequently. You can cut out a door and windows at this point, or you can wait until after baking while the cookies are still warm.
- Bake in the oven until the edges are just beginning to darken: 11-15 minutes for the large pieces and 6-8 minutes for the small pieces (you’ll want to back similar-sized pieces on the same tray to make timing easier). Rotate the cookie sheets half way through baking for more even browning. Remove the sheets to racks to cool for about 15 minutes.
- While the pieces are still slightly warm, lay the original pattern pieces over them and use a large straight knife to trim off any parts of the pieces that have spread beyond the pattern during baking. Remove pieces to cool directly on racks to cool completely.
- You will need royal icing to use as mortar for the house and to set the candies that you use later to decorate the house. Royal icing is a pure white icing that dries to a smooth and hard matte finish (you can add food colouring to some or all of the royal icing, if desired). It’s made out of confectioners’ sugar and meringue powder* that’s available in the baking section at any bulk food store (there should be instructions on the package).
*Note: Some royal icing recipes call for raw egg whites instead of meringue powder. Be aware that there’s a risk of salmonella or other food-borne illness when using raw egg whites, and these should be avoided especially by pregnant women, children, and anyone with a compromised immune system.